
Configuring OAuth via Keycloak
KISTERS WISKI deploys Keycloak as Identity Provider. In order to configure Keycloak for TISGraph, follow this guide:
Create Client in Keycloak
Firstly, navigate to https://wiski.example.com:7415/admin/master/console/#/kisters-water-default/clients and click "Create client".
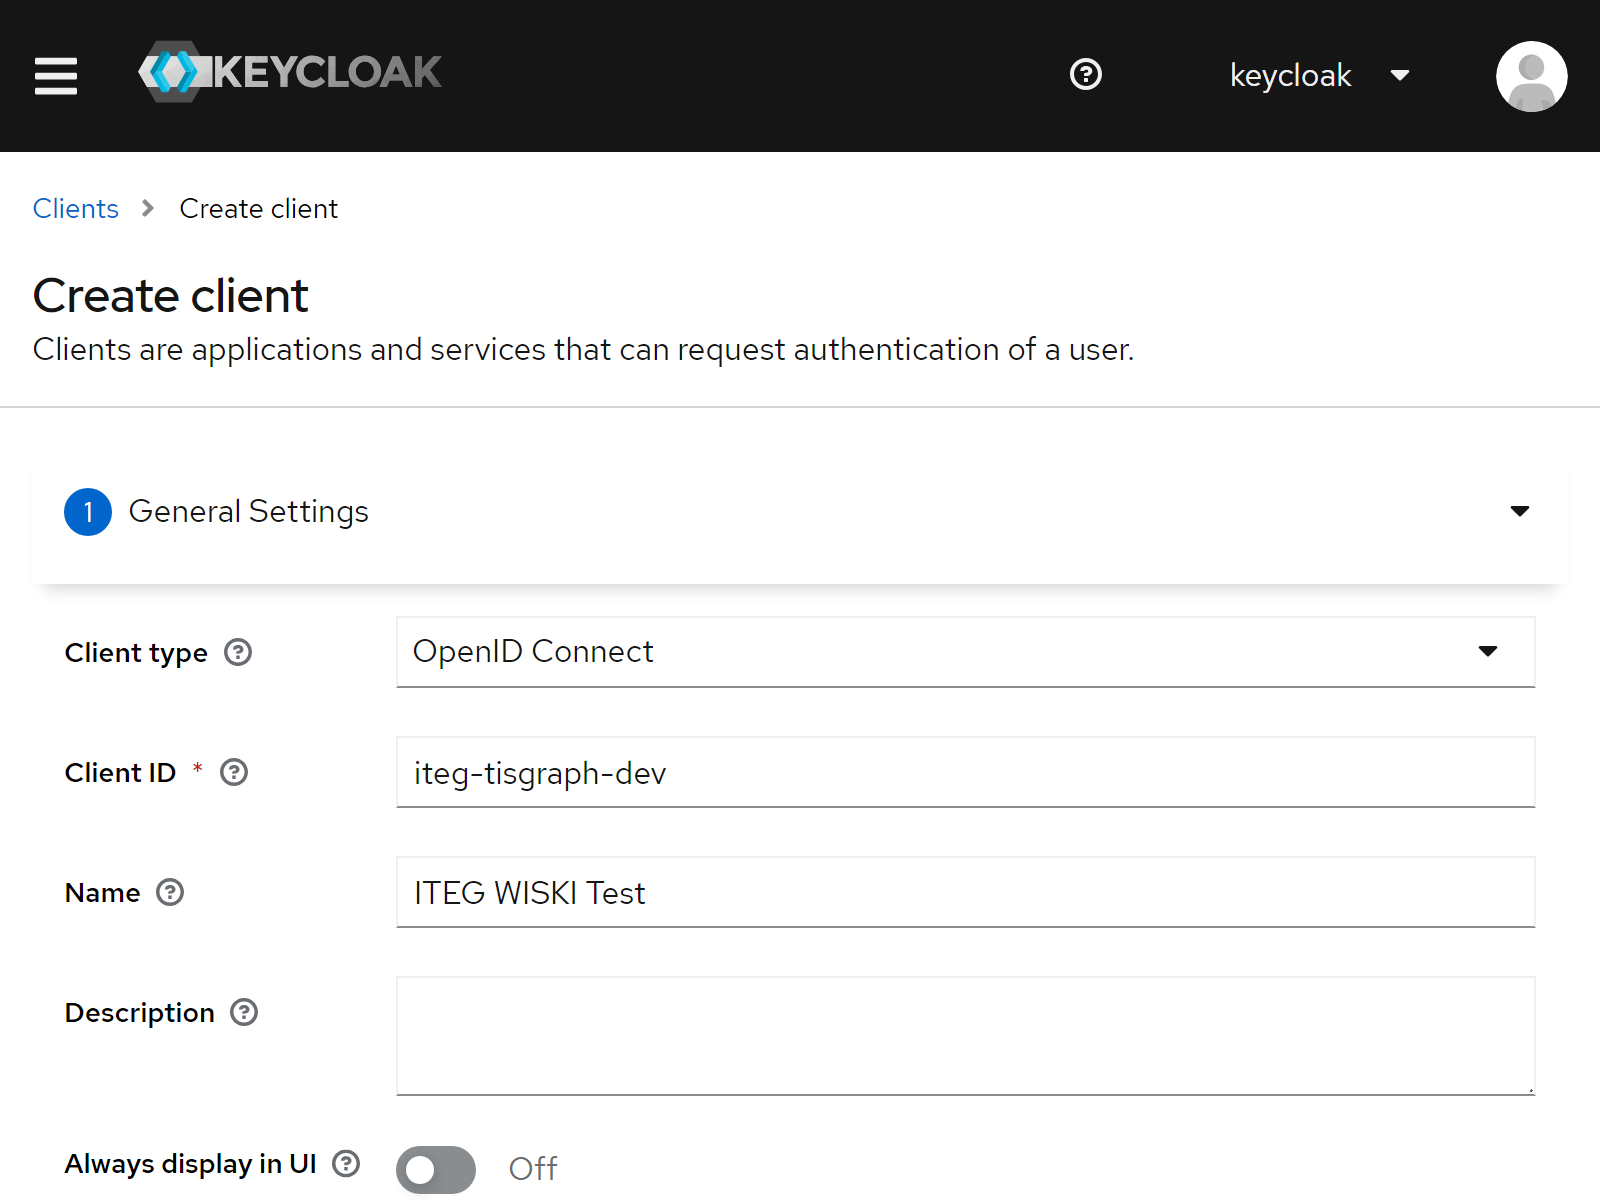
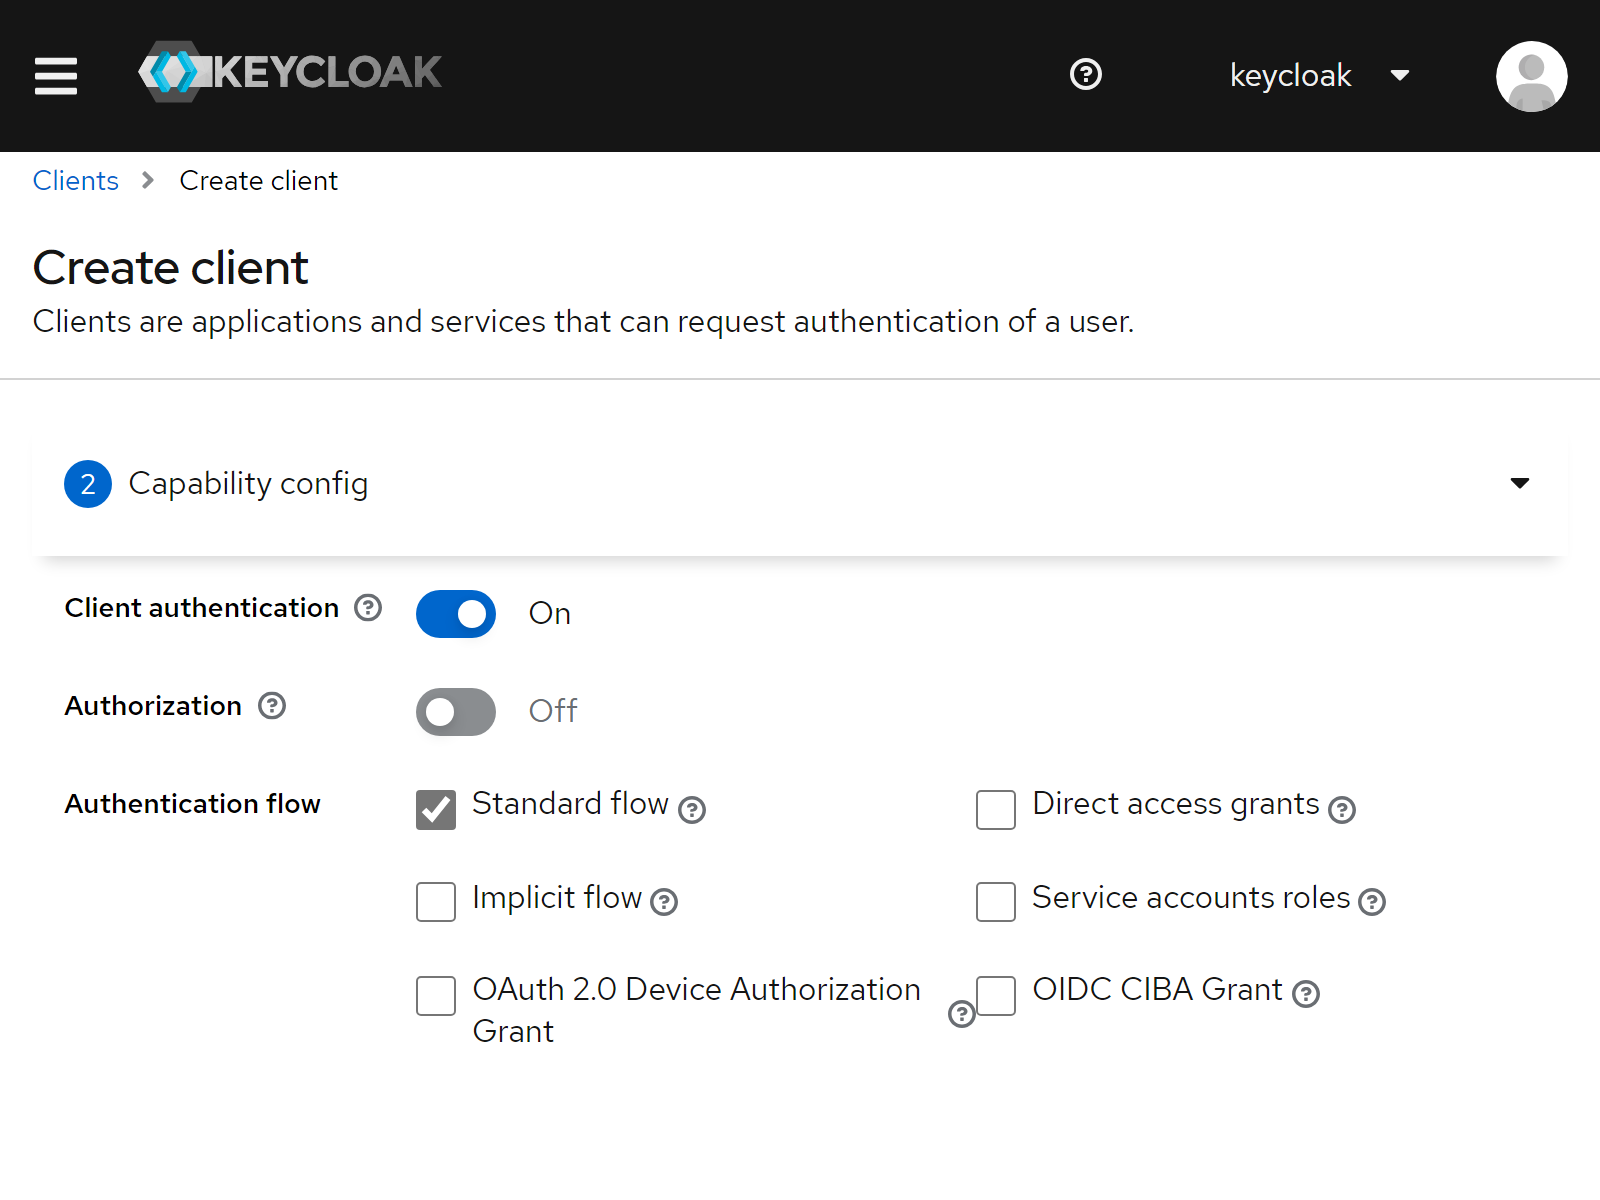
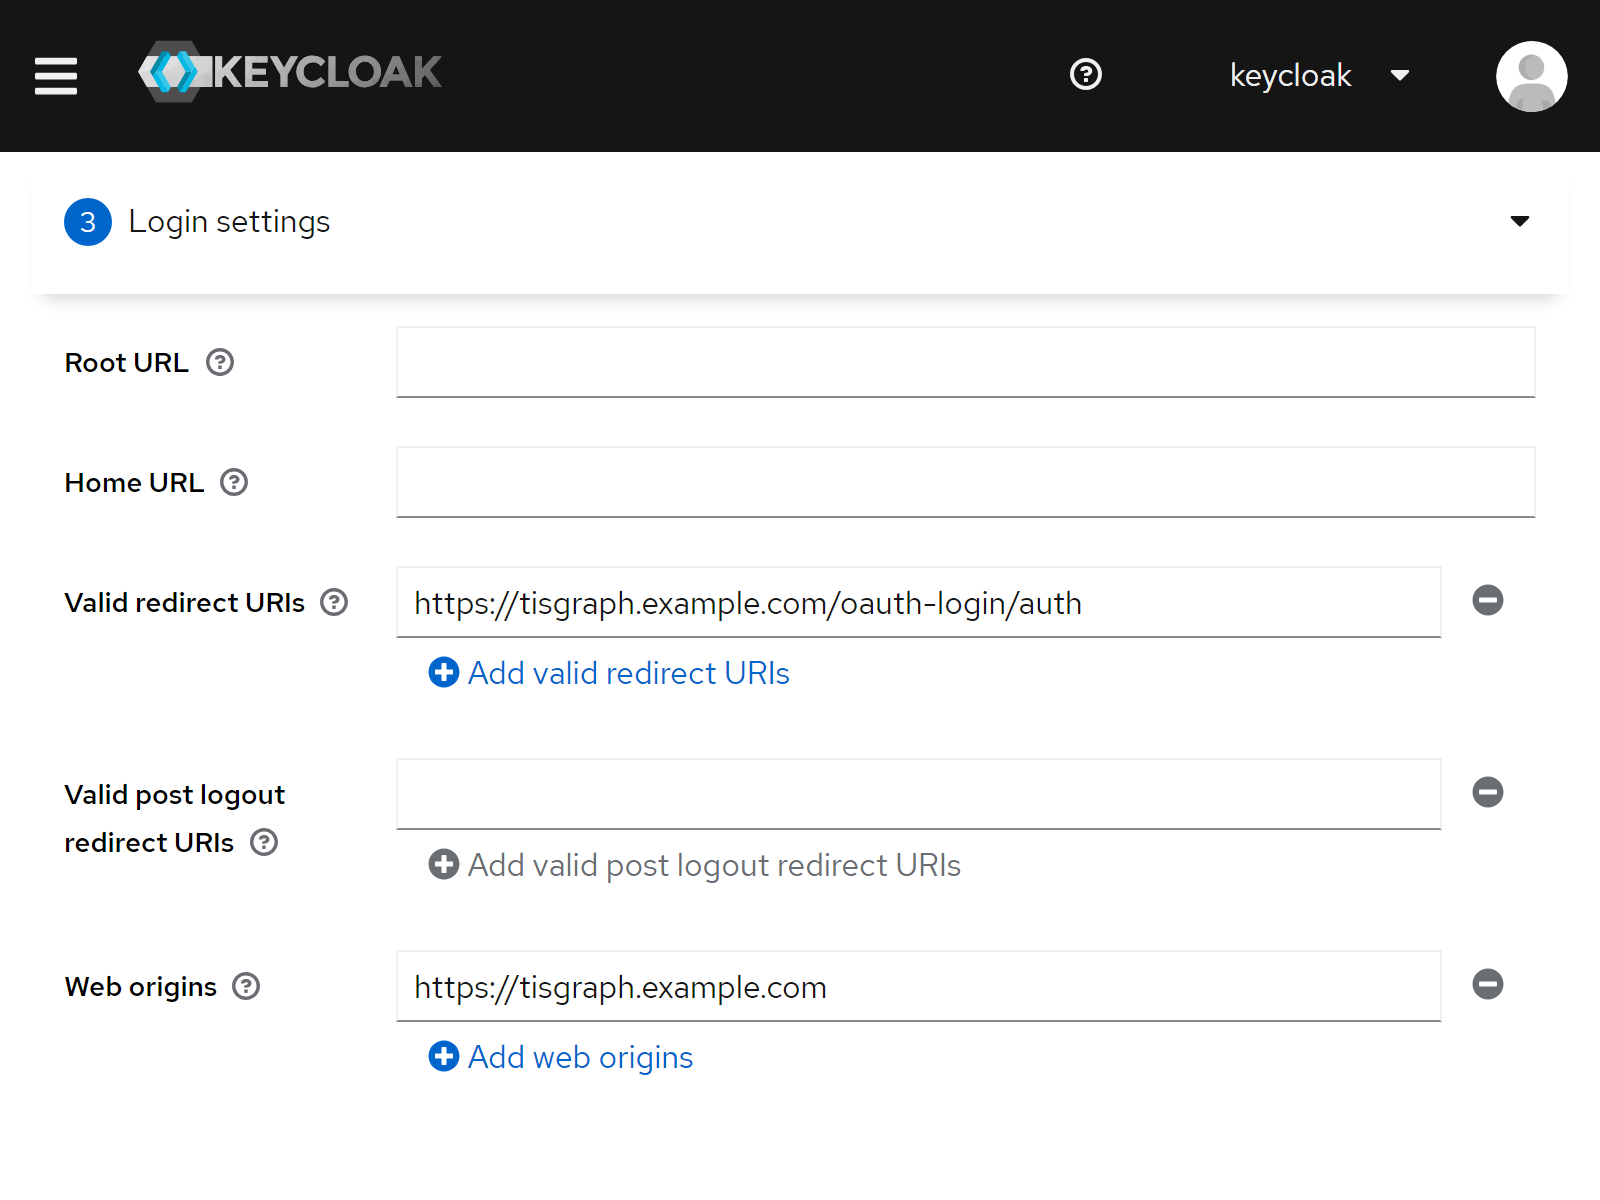
In the wizard, configure the following:
| Name | Value |
|---|---|
| Client type | OpenID Connect |
| Client ID | iteg-tisgraph (to be used for domain.WISKI.clientId) |
| Name | ITEG WISKI |
| Client authentication | On |
| Authorization | Off |
| Standard flow | On |
| Direct access grants | Off |
| Implicit flow | Off |
| Service accounts roles | Off |
| Root URL | <empty> |
| Home URL | <empty> |
| Valid redirect URIs | https://tisgraph.example.com/oauth-login/auth |
| Web origins | + |
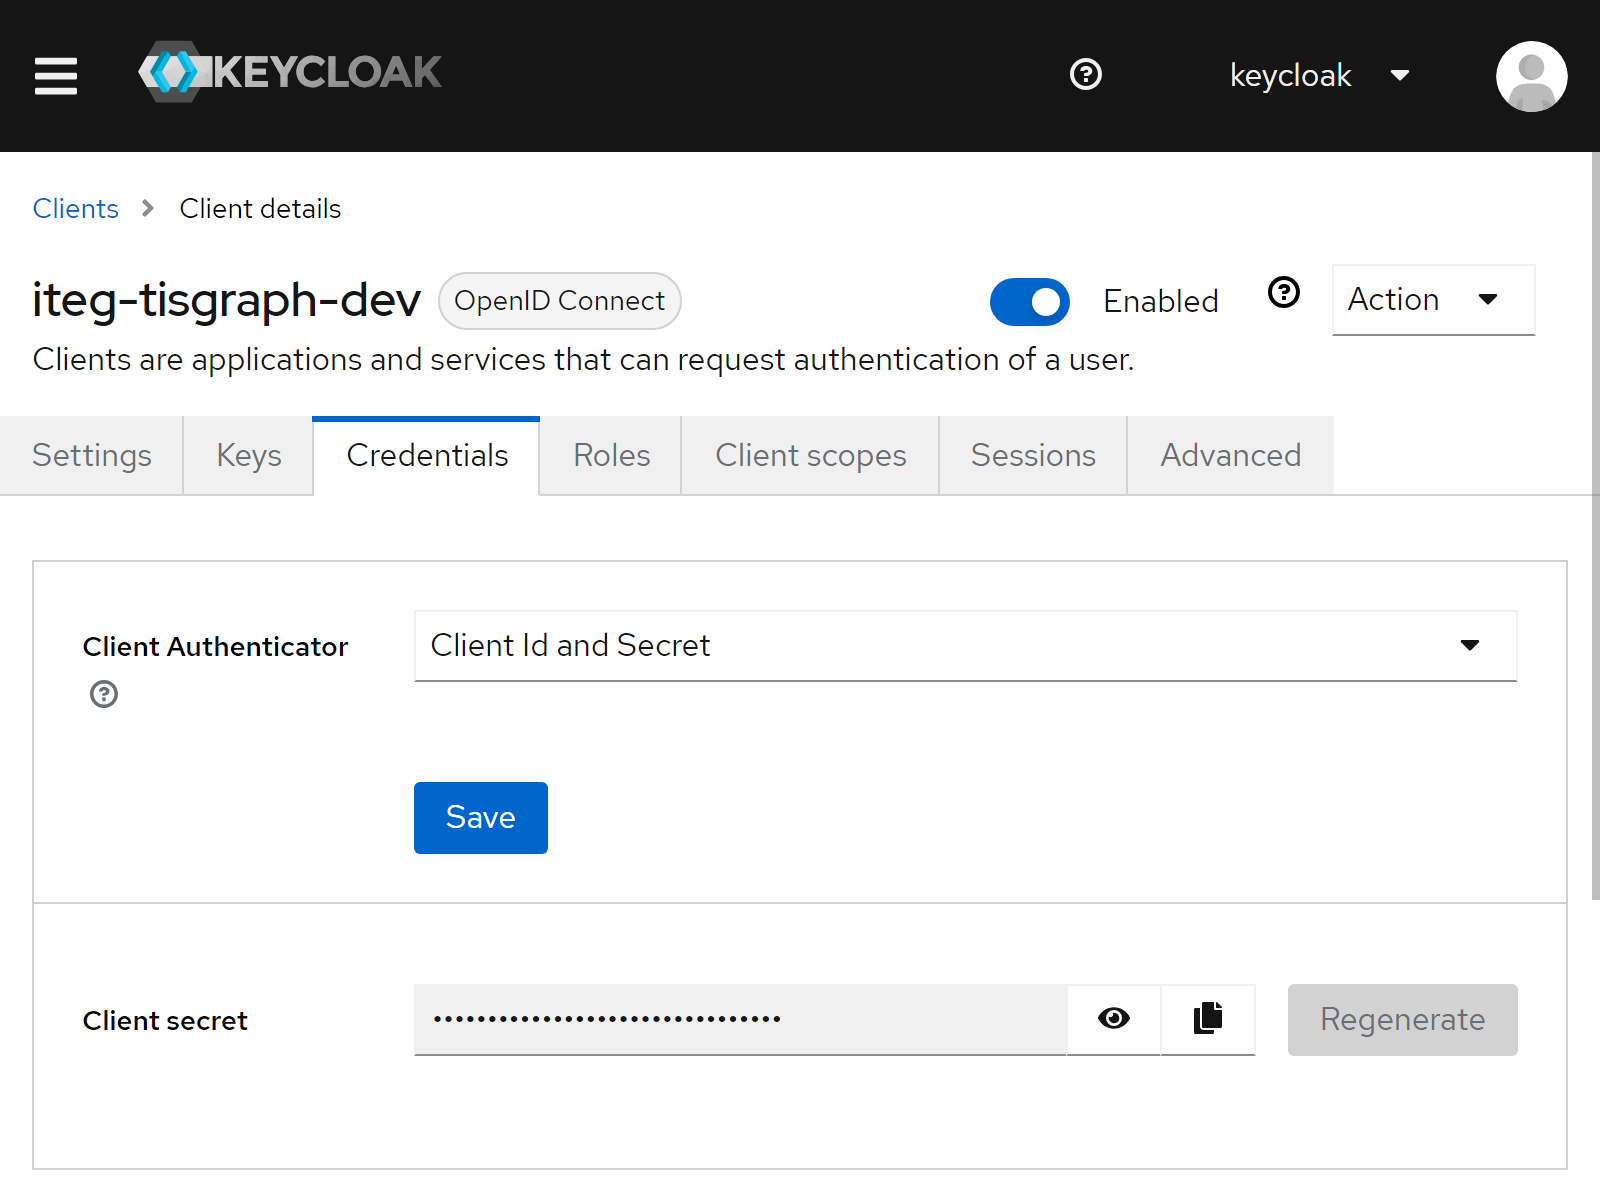
Navigate to the newly created client, open the tab "Credentials", and copy the "Client secret" to the clipboard.
Optional: group-ldap-mapper
Mapping LDAP groups to TISGraph user groups is possible using a group-ldap-mapper configured on the user federation:
- Navigate to user federation, https://wiski.example.com:7415/admin/master/console/#/kisters-water-default/user-federation
- Click "KISTERS WATER LDAP"
- Click "Mappers"
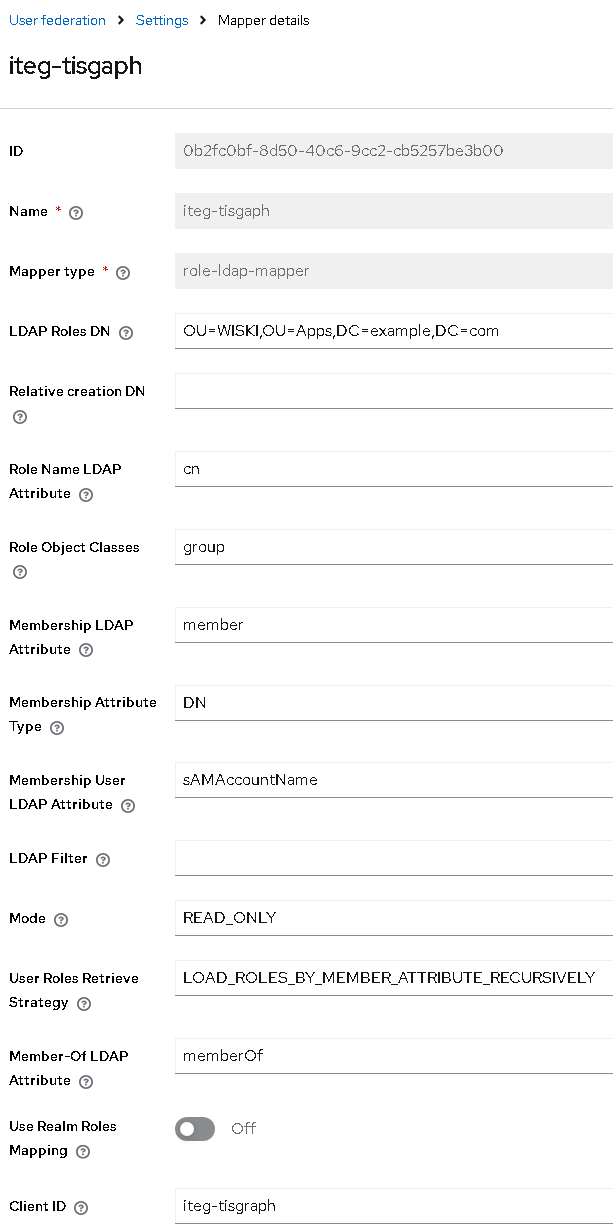
- Click "Add mapper", and configure the following:
| Name | Value |
|---|---|
| Name | iteg-tisgraph |
| Mapper type | role-ldap-mapper |
| LDAP Roles DN | ... |
| Relative creation DN | <empty> |
| Role Name LDAP Attribute | cn |
| Role Object Classes | group |
| Membership LDAP Attribute | member |
| Membership Attribute Type | DN |
| Membership User LDAP Attribute | sAMAccountName |
| LDAP Filter | <empty> |
| Mode | READ_ONLY |
| User Roles Retrieve Strategy | LOAD_ROLES_BY_MEMBER_ATTRIBUTE_RECURSIVELY |
| Member-Of LDAP Attribute | memberOf |
| Use Realm Roles Mapping | Off |
| Client ID | iteg-tisgraph |
- Navigate to clients, https://wiski.example.com:7415/admin/master/console/#/kisters-water-default/clients
- Open the
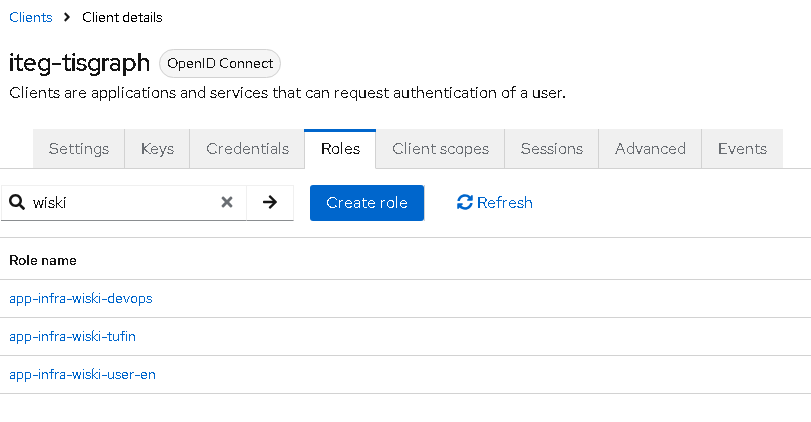
iteg-tisgraphclient - Click "Roles", verify that some LDAP groups appear
- Click "Client scopes", click
iteg-tisgraph-dedicated - Add predefined mappers, select
realm roles(Map a user realm role to a token claim) - Click the newly created
realm rolesmapper, and configure the following:
| Name | Value |
|---|---|
| Mapper type | User Client Role |
| Name | <any>, for instance realm roles |
| Client ID | <empty> |
| Client Role prefix | <empty> |
| Multivalued | On |
| Token Claim Name | resource_access.${client_id}.roles |
| Claim JSON Type | String |
| Add to ID token | On |
| Add to access token | On |
| Add to lightweight access token | Off |
| Add to userinfo | Off |
| Add to token introspection | Off |
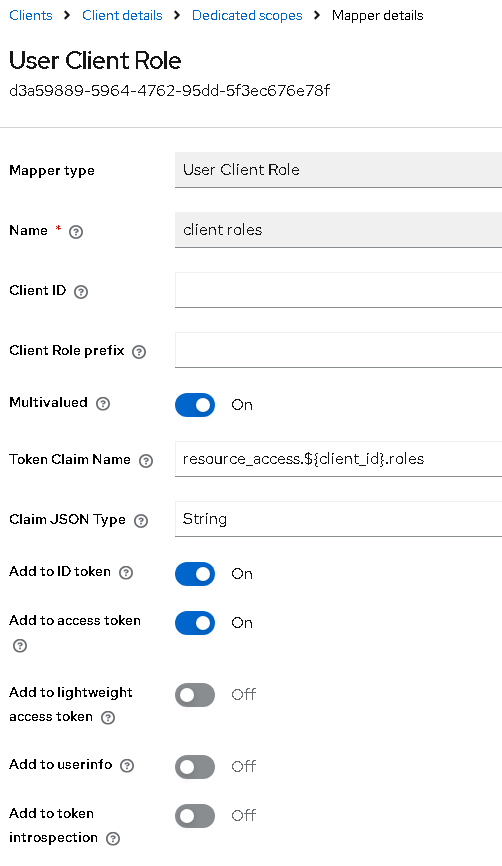
Configure TISGraph
- Configure org.clazzes.login.oauth.
- Configure at.iteg.tis.graph:
users.suPrincipalanddelegateLoginMechanismandapiSecurityContext. - Open https://tisgraph.example.com/oauth-login/login in order to try or debug the OAuth authentication. To obtain the access token, open https://tisgraph.example.com/oauth-login/login?tokens=true
# org.clazzes.login.oauth
delegateDomain = WISKI
delegateTokenType = JWT
sameSitePolicy = Strict
secureCookie = true
sessionCookie = OAUTH_SESSION_ID
sessionTimeout = 180
domain.WISKI.clientId = iteg-tisgraph
domain.WISKI.clientPassword = ...
domain.WISKI.configurationLocation = https://wiski.example.com:7415/realms/kisters-water-default/.well-known/openid-configuration
domain.WISKI.faviconLocation = data:image/svg+xml;base64,PHN2ZyB2aWV3Qm94PSIwIDAgNDAgNDAiIHhtbG5zPSJodHRwOi8vd3d3LnczLm9yZy8yMDAwL3N2ZyI+PHBhdGggZD0ibTEgMzJoOWwxOCAtMjRoLTl6TTMwIDhoOWwtOSAxMiA5IDEyaC05bC05LTEyeiIvPjwvc3ZnPg==
domain.WISKI.groupRoleResource = iteg-tisgraph
domain.WISKI.label = WISKI-Anmeldung
domain.WISKI.options = jwtAccessToken,basicAuthCredentials,renderUserLogout
domain.WISKI.scope = openid profile email# at.iteg.tis.graph
delegateLoginMechanism = org.clazzes.login.oauth
users.contextList = Hydro;Talsperren;...
users.defaultGroup = Frischlinge
users.suPrincipal = org.clazzes.login.oauth.OAuthPrincipal::WISKI/Admin
# if you want to access the TISGraph API (render PDFs via script)
apiExternalUrl = https://tisgraph.example.com/
apiForwardHeaders = Authorization
apiLenientRedirect = false
apiLoginMechanism = org.clazzes.login.oauth
apiSecurityContext = /oauth-login/login
apiTimeout = 30000Make sure that your HTTPS certificate is trusted by the java installation by using one of the following options to let osgi-runner know your RootCA:
- Place your RootCA file named
...crtin the directory%INSTDIR%\etc\pki.d\ca-certificates(works withosgi-runner-4.6.0-1and newer). - Use
keytool -import -cacerts -storepass changeit -file ...crt - On Windows, configure the following java options to use the Windows Certificate Store:
-Djavax.net.ssl.trustStoreType=WINDOWS-ROOT -Djavax.net.ssl.trustStore=NUL(see system-truststores for details)
Migrate Users in Existing Installations
If you have an existing TISGraph installation, you might consider to change the existing users in the database from WISKI authentication to OAuth in order to avoid the need to manually re-assign group membership of these user.
After having configured access to the OSGI console you can change existing users to the new OAuth login using the following commands:
iteg@gogo> query -l 60 TISGRAPH "select ID,USER_STRING from tisgraph_user where USER_STRING like 'at.iteg.wdb.api.dto.WiskiPrincipal::%'"

iteg@gogo> query TISGRAPH "update tisgraph_user set USER_STRING=REPLACE(USER_STRING,'at.iteg.wdb.api.dto.WiskiPrincipal::','org.clazzes.login.oauth.OAuthPrincipal::') where USER_STRING like 'at.iteg.wdb.api.dto.WiskiPrincipal::%'"
Configure IIS
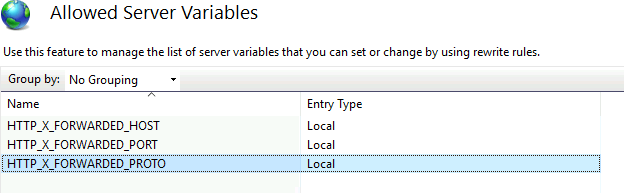
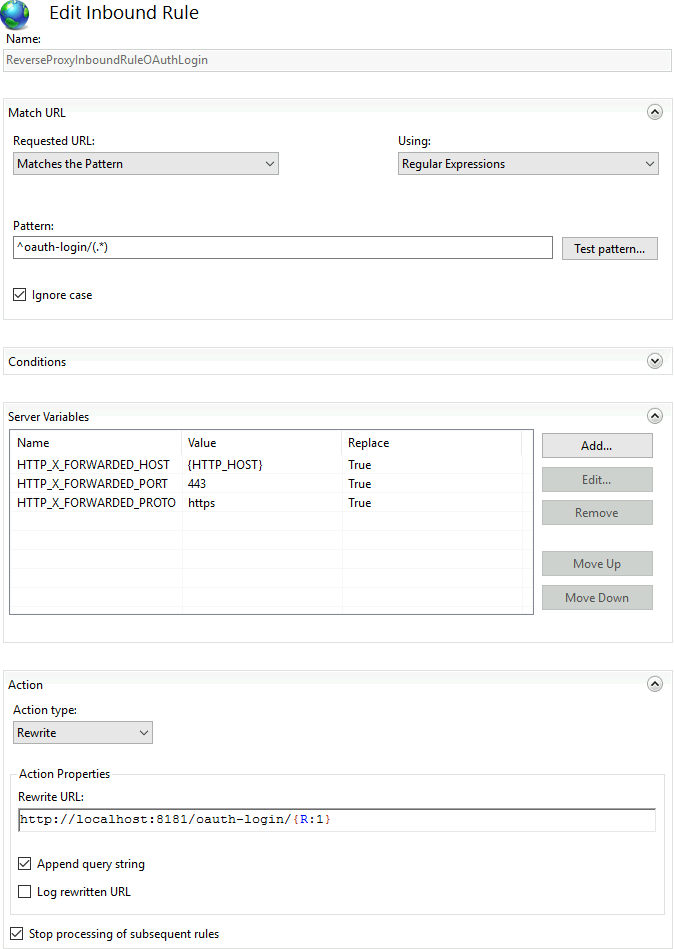
If the IIS (Internet Information Services for Windows Server) is used as reverse proxy, make sure that /oauth-login is proxied to TISGraph running on localhost:8081. Furthermore, make sure that the HTTP headers HTTP_X_FORWARDED_HOST, HTTP_X_FORWARDED_PORT, HTTP_X_FORWARDED_PROTO are set correctly. This is necessary as TISGraph needs to construct a redirect_uri for the authentication flow.
                <rule name="ReverseProxyInboundRuleOAuthLogin" stopProcessing="true">
                    <match url="^oauth-login/(.*)" />
                    <action type="Rewrite" url="http://localhost:8081/oauth-login/{R:1}" />
                    <serverVariables>
                        <set name="HTTP_X_FORWARDED_HOST" value="{HTTP_HOST}" />
                        <set name="HTTP_X_FORWARDED_PORT" value="443" />
                        <set name="HTTP_X_FORWARDED_PROTO" value="https" />
                    </serverVariables>
                </rule>